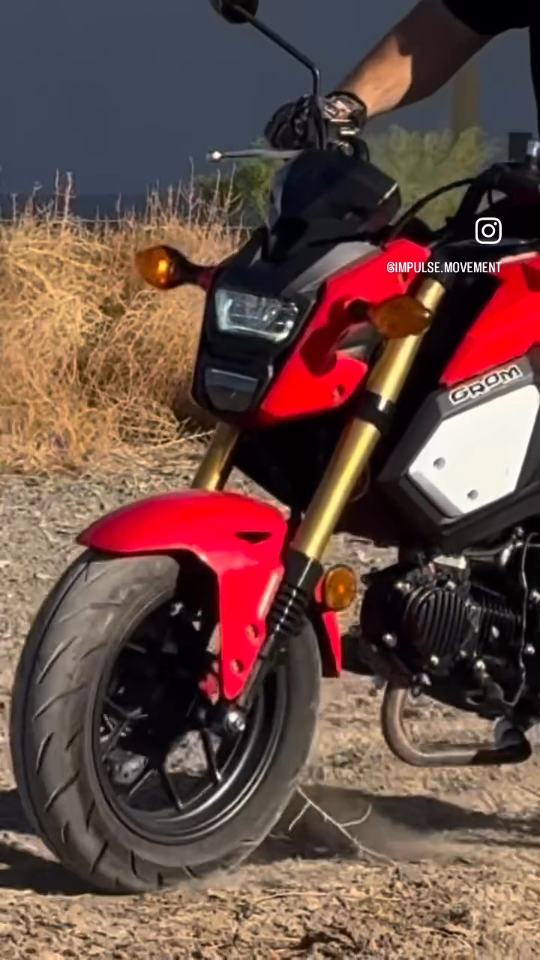
AirTech Installation Guide
About 30–45 minutes for both fork legs. The fork stays on the bike. A video of the whole install is at the bottom of the page.
⚠ The fork lower is a reverse thread
Looking up at the fork lower from underneath, turn it clockwise to remove it. (From above, that’s counterclockwise.) Turning it the other way tightens it.
What you need
- A stand or jack to lift the front wheel off the ground
- Allen keys and sockets for the brake caliper, front fender and front axle
- A C-clamp
- The black plastic soft-jaw adapters (included)
- A propane or MAPP gas torch, and gloves
- Blue (medium-strength) threadlocker
Unbox
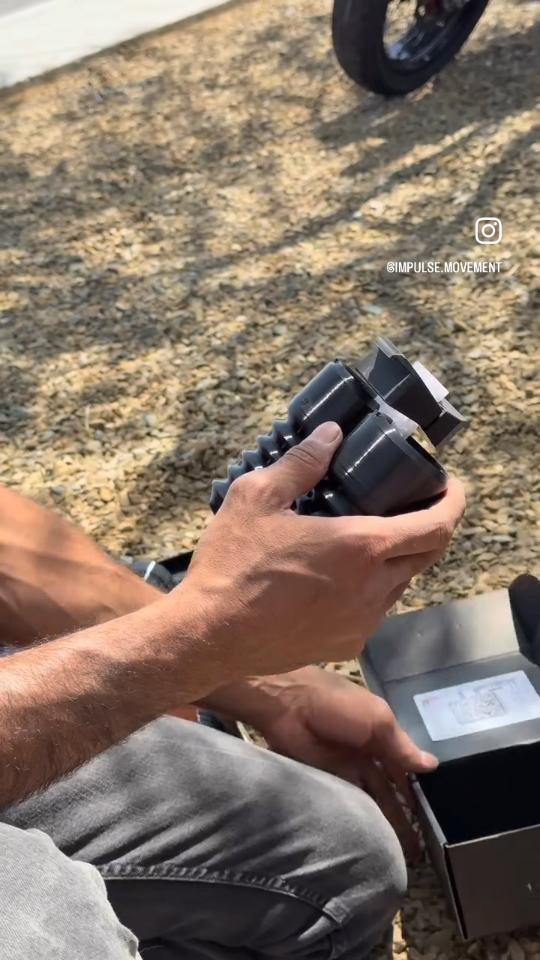
Lay out the parts: the two AirTech dampers, the small clips and the black plastic soft-jaw adapters.
Remove the brake caliper
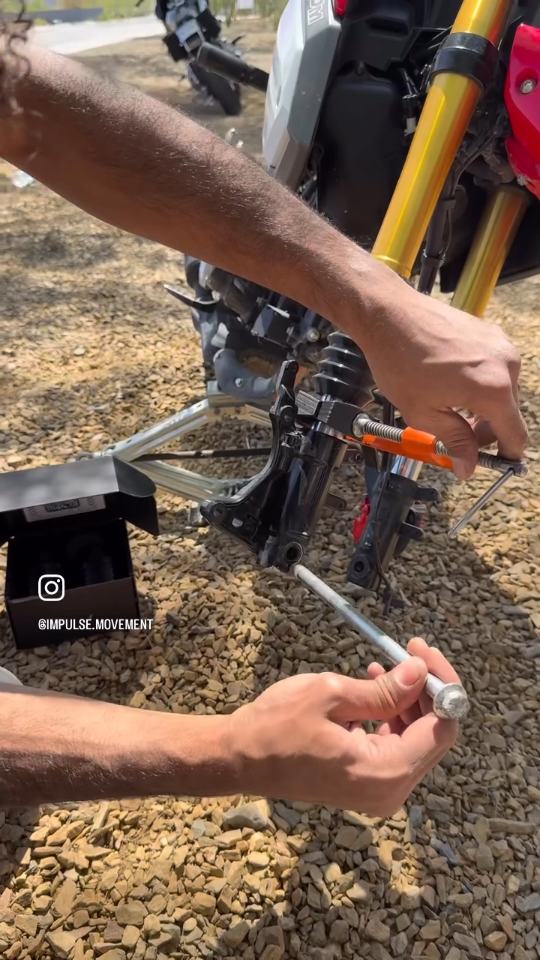
Lift the front wheel off the ground first. Unbolt the caliper and hang it out of the way. Don’t let it hang by the brake line.
Remove the front fender
Unbolt the fender from the fork lowers and set it aside.
Pull the axle and remove the wheel
Undo the axle nut, slide the axle out, and roll the wheel clear.
Fit the soft-jaw adapters
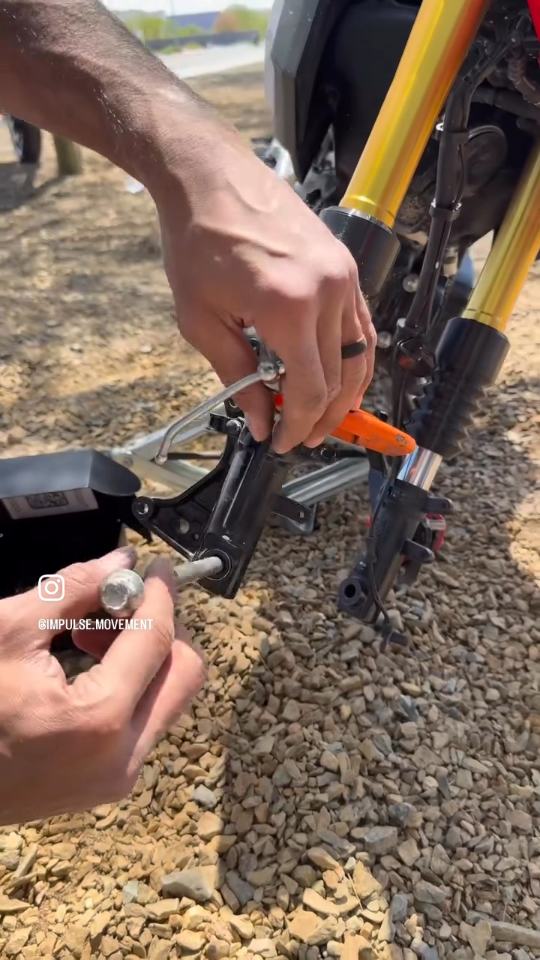
Fit the black plastic soft-jaw adapters where the clamp will grip. They protect the fork from the clamp.
Put the C-clamp on
Clamp over the soft-jaw adapters so the fork can’t turn while you work on the lower.
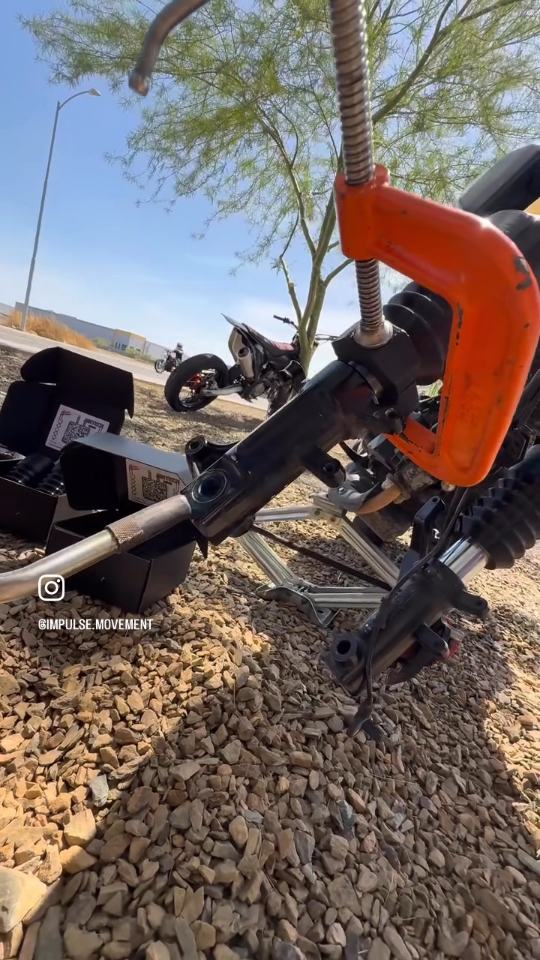
Heat the fork lower
Heat the fork lower all the way around, where it threads onto the stanchion, to about 350 °F. That softens the factory threadlocker. Wear gloves, and keep the flame off the fork seal and the chrome.
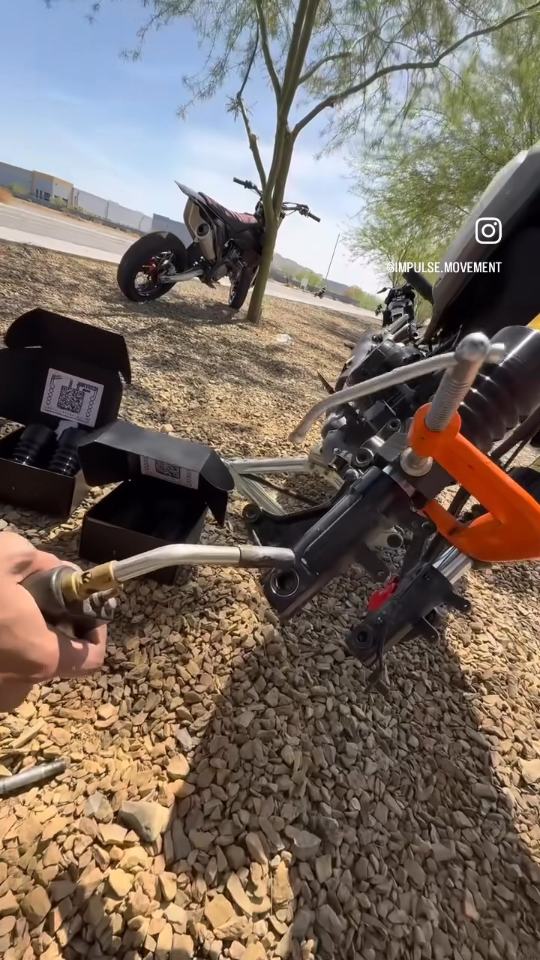
Unscrew the fork lower
It’s a reverse thread: looking up from underneath, turn it clockwise.
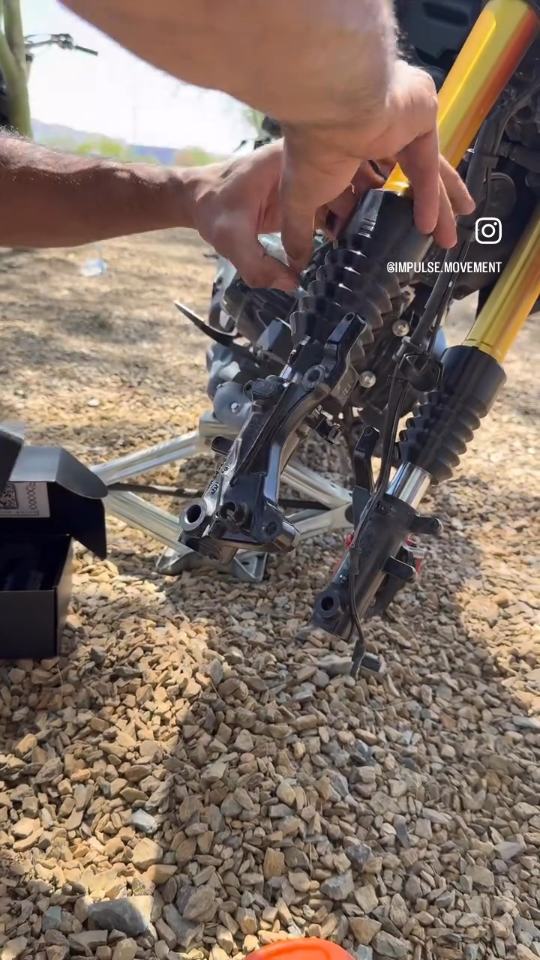
Take the lower off
Set it down somewhere clean. Now the chrome stanchion is bare.
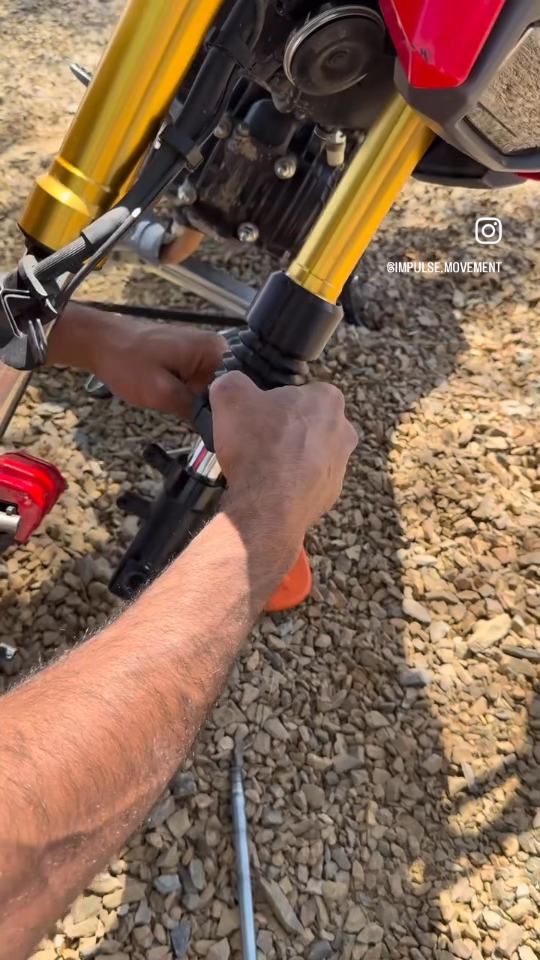
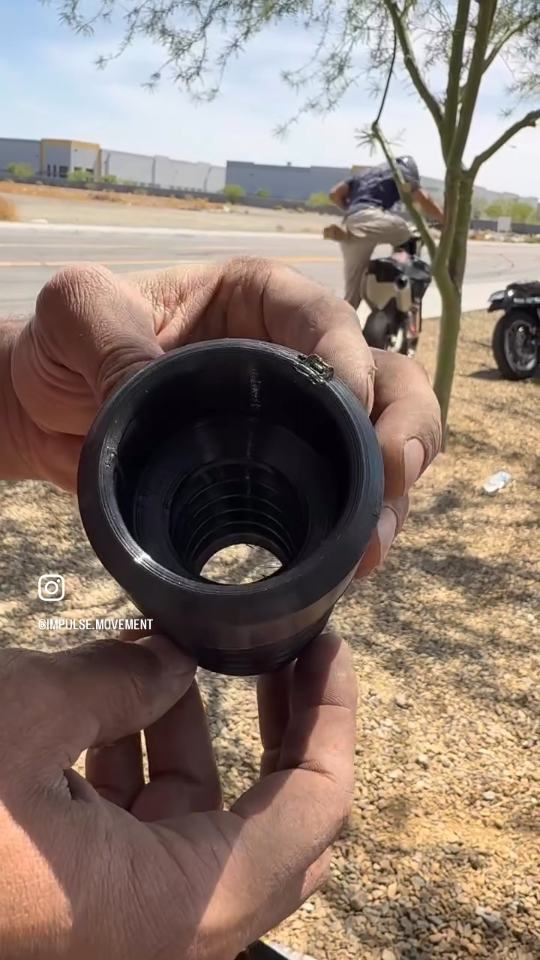
Fit the black printed part
Fit the black printed part as shown in the photo and the video.
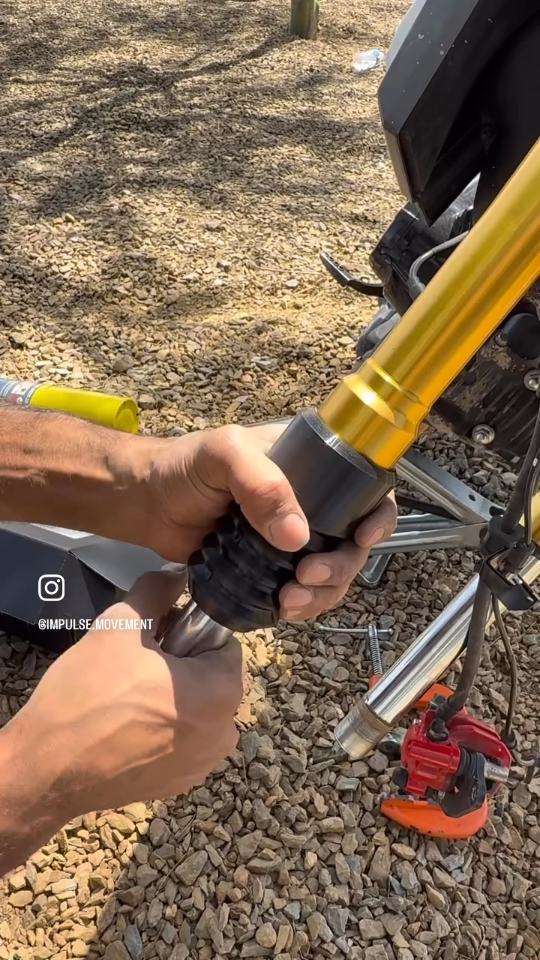
Slide AirTech on
Slide AirTech up onto the stanchion.
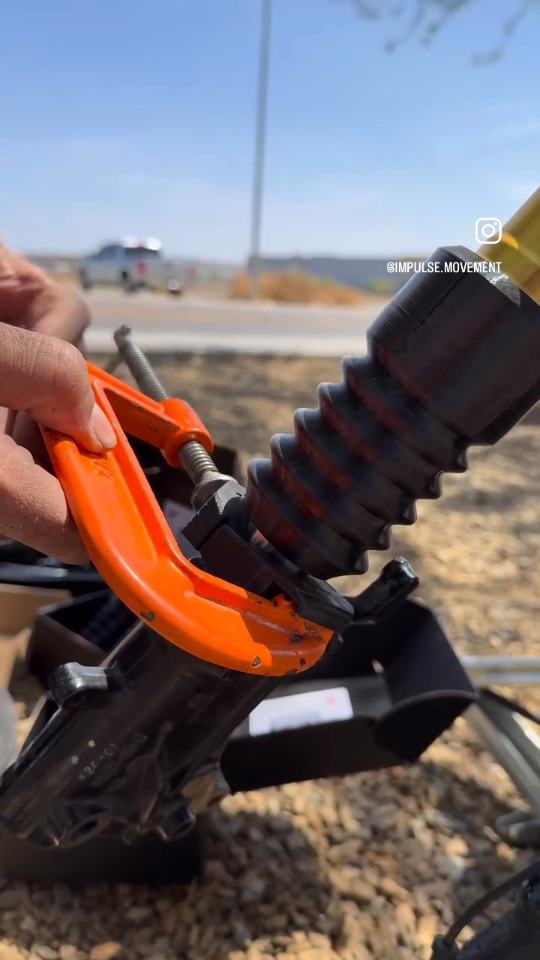
Fit the small clip on top of AirTech
It’s easiest to fit the clip on top of AirTech now. When you screw the fork lower back on, it squeezes AirTech up into place.
Press the clip home with the C-clamp
Squeeze the clip with the C-clamp until it snaps fully into place.
Refit the fork lower with blue threadlocker
Clean the threads, add blue threadlocker, and screw the lower back on: counterclockwise, looking up from underneath. Tighten it firmly.
Then do steps 5–14 again on the other fork leg.
Refit the fender, wheel, axle and caliper
Fender first, then the wheel and axle, then the brake caliper. Tighten the axle nut to the factory spec (40 ft-lb on the Grom).
Check the bike before you ride
Pump the front brake until the lever is firm. Spin the wheel, check every bolt you touched, and push the front end down a few times to feel the fork move freely.
Ride
Take it easy for the first few minutes while you get used to how the front end feels.